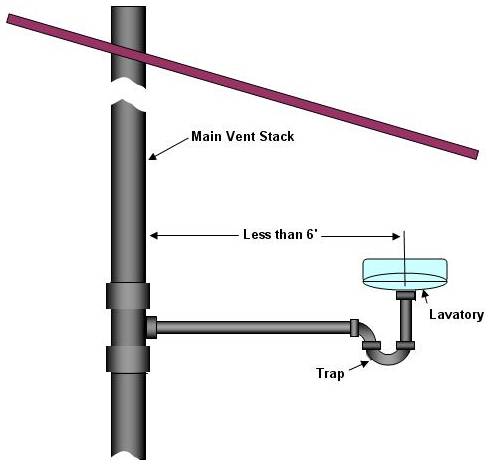
1.Plumbing vent, also known as a vent stack, helps regulate the air pressure in your plumbing system. Just as drain pipes remove water and waste from your home, the plumbing vent pipe – also known as a plumbing air vent – removes gas and odors.Read More
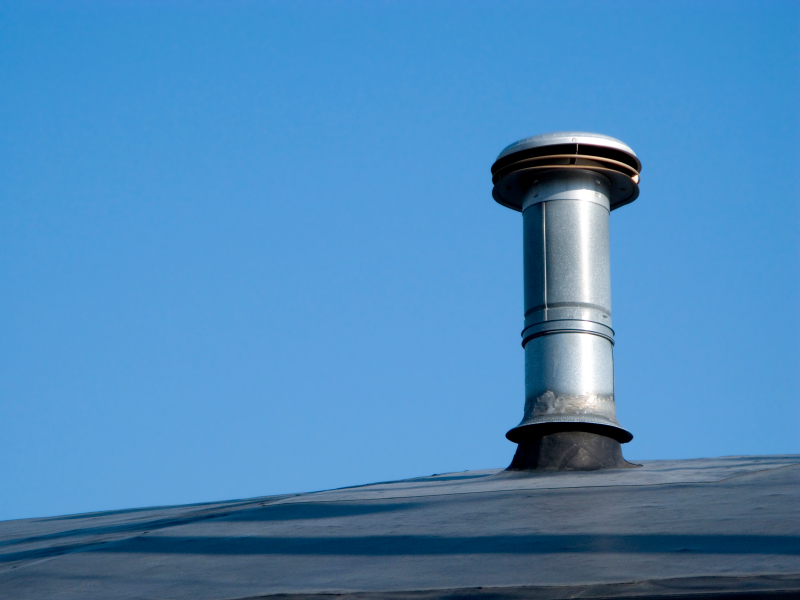
It also allows fresh air into the plumbing system to help water flow smoothly through the drain pipes. However, no water runs through the plumbing vent pipe. It is a vertical pipe attached to a drain line and runs through the roof of your home. The vent stack is the pipe leading to the main roof vent. It channels the exhaust gases to the vent and helps maintain proper atmospheric pressure in the waste system. 2 Plumbing Vent can be considered as having a glass of water in front of you with a straw to drink. If you place your finger at the top end of the straw; sealing it while lifting the straw out of the glass, you will see that the water remains in the straw until you remove your finger. This is the same principle by which venting occurs in the circuitry of your plumbing. In simple form , when air is allowed in your vent pipes ; then gravity allows waste in sewer line to run freely. In most cases, you will find that your waste, especially in bathtubs , kitchen sinks and areas where grease is predominant. Why knowing how Plumbing Vent is Important? 3.Your home’s plumbing system is designed to efficiently remove water and waste. Its drainage and vent functions are actually two systems that work together. 4.Drainage pipes carry waste out of your home to either the city sewer or a septic tank. Plumbing Vent pipes supply fresh air to each plumbing fixture in the house, which helps the system move water through the drainage pipes each time a toilet is flushed or a sink is drained. 5.Plumbing vent also prevent sewer gases from entering the home and allow wastewater gas and odor to escape. Plumbing vent pipes are located on roofs, away from windows or air conditioning units, so that the fumes can as well disipate. Problems With Plumbing Vent Pipes 6.When plumbing vent or vent stacks do not work properly, neither will your home’s plumbing drainage system. If you hear gurgling sounds coming from your drains, see standing water in your sink or bathtub, or notice a slow drain in the bathroom or kitchen, a blocked vent may be the issue. Below is a video on how to vent plumbing
If you can’t clear a slow-flowing drain with a plunger,Read More
auger or drain cleaner the plumbing vent blockage may be severe. If the plumbing vent or vent stack becomes completely blocked, a vacuum will form and you will no longer hear gurgling. You will also be able to smell sewer gases in the rooms where the affected fixtures are located. This is a problem that requires immediate attention from a plumbing professional.
ICC endorsed edition. An in-depth illustrated manual dedicated to the IPCRead More
plumbing vent methods. Dozens of diagrams and photos showing the correct and incorrect examples of common venting, horizontal and vertical wet-venting, combination waste and vent, circuit venting, single stack venting and more based on the criteria established in chapter 9 of the 2015 International Plumbing Code.
WHAT IS A WET PLUMBING VENT?
In a house’s plumbing vent system, drain and waste pipes carry water and wastes to the sewer or septic system; vent pipes expel sewer gases out the roof while equalizing Read More
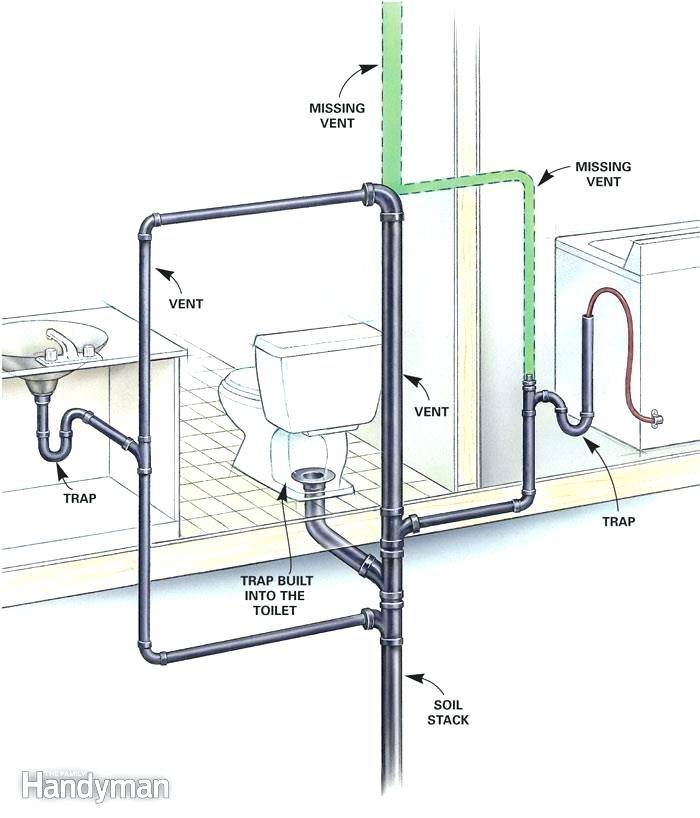
the system’s air pressure.In an ideal world, drains and vents would be separate so that proper venting of one fixture could never be blocked by waste from another. But the separation of vent and drain isn’t always practical.Say, for instance, you want to add a bathtub to an existing bathroom, but there is no easy way to route a new vent up through the wall. A wet vent may be a workable solution.With wet venting, fixtures that are relatively close to the soil stack (the main vertical drain-waste-vent pipe) are connected directly to it, even if the section of stack above the connection serves as a drain for another fixture.For example, the new bathtub’s drain might connect to the stack about 2 feet beneath where the lavatory’s drain connects. That short section between the two connection points is a drain for the lavatory and a vent for the tub—thus, it’s a wet plumbing vent.
Wet Plumbing Vent Diagram

LOOP PLUMBING VENTS

A loop plumbing vent is a type of drain designed to be used in areas where traditional piping isn’t feasible.Read More
In kitchen islands and other areas where a vent that runs directly in to the wall isn’t able to be placed, a loop plumbing vent can be used.
What It Is
A loop plumbing vent is a way of venting the trap installed in an island sink.Read More
Since all drains need to be ventilated to allow for sewer gas to escape instead of building in the pipe. The loop vent allows gas to flow up the pipe as the water flows down the pipe. The loop creates a vacuum that pulls gas away from the water as water runs on the other side. a loop vent allows this to happen without needing a flat vent.
Installation
Installing a loop plumbing vent is more difficult than other types of sink vents.Read More
The cost can also be high. However, if you want a sink placed in an island or other odd area, it has to be done. It’s not something that should be done without a professional.
MECHANICAL PLUMBING VENT
LOOP PLUMBING VENT
Why is the Toilet Bubbling?
If you have air bubbles that rise up through your toilet bowl (except when it flushes)Read More
or notice the water level rising and falling, you probably have a clogged or improperly vented toilet. This toilet bubbling problem is especially true when you have an appliance like a clothes washer nearby. Your drain plumbing vent line is gasping for air.
How drain plumbing Vent works
Read More
When you pour liquid from a can, you’ll notice that it doesn’t flow evenly unless you have a second opening for air. The same holds true for plumbing vent pipe. As water goes down a drain, air is needed to equalize the pressure in the drain line. This is the purpose of a plumbing vent system. If the drain lines in your home have poor venting,water rushing down the drains will pull water from nearby P-traps. The drain in the toilet bowl is basically a P-trap. If the problem just started, it’s probably a blocked drain or plumbing vent pipe that needs to be “snaked” out. And since the water in the toilet is dropping and gurgling, it’s likely that the problem is near that area.
Watch video on how an Air Admittance Valve function in a plumbing vent environment.
Sewer Odor
Without getting too far into building science, a general plumbing rule of thumb is that every drain needs a trap,Read More
and every trap needs a plumbing vent.All those traps and drains are designed to prevent sewer gas from entering your home.The plumbing vent in your home should channel sewer odor up to the roof, while drain traps create a “water plug” that acts as a barrier stopping sewer odors from coming through the sink drain.If you smell sewer gas in your home, that means either a trap has run dry or a vent line has cracked. A dry trap can be fixed as easily as refilling it with water, or you may need to examine it for signs of the leak.Tracking down a cracked sewer plumbing vent can be much more difficult, as they are often enclosed in a wall, and will require a bit of drywall surgery in order to find and repair.
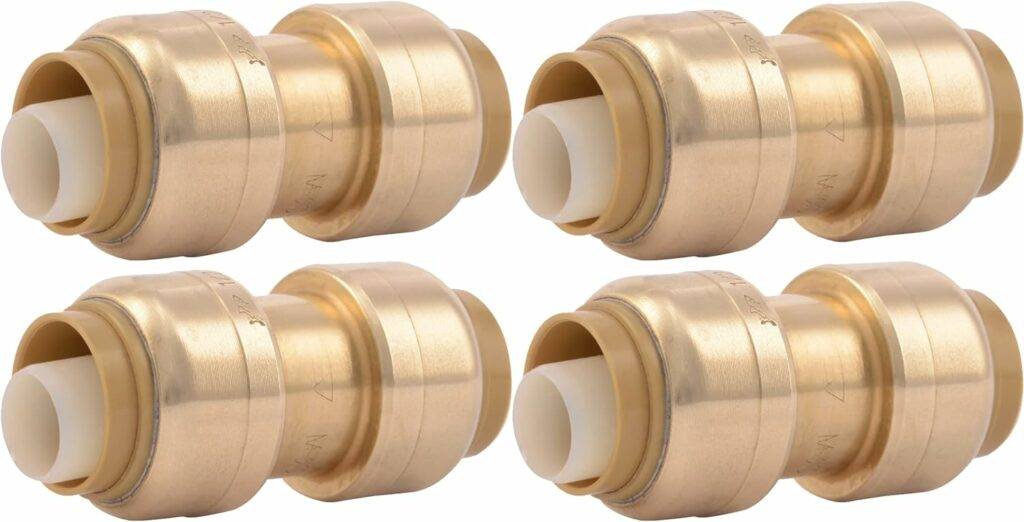
Pack Of 4 Read More
4-Inch White Aluminum Round Insect Proof Mini Louvers With Screen. Overall Size 4.625-Inch Fits 4-Inch Hole Diameter. 3.5 Square Inch Free Area.
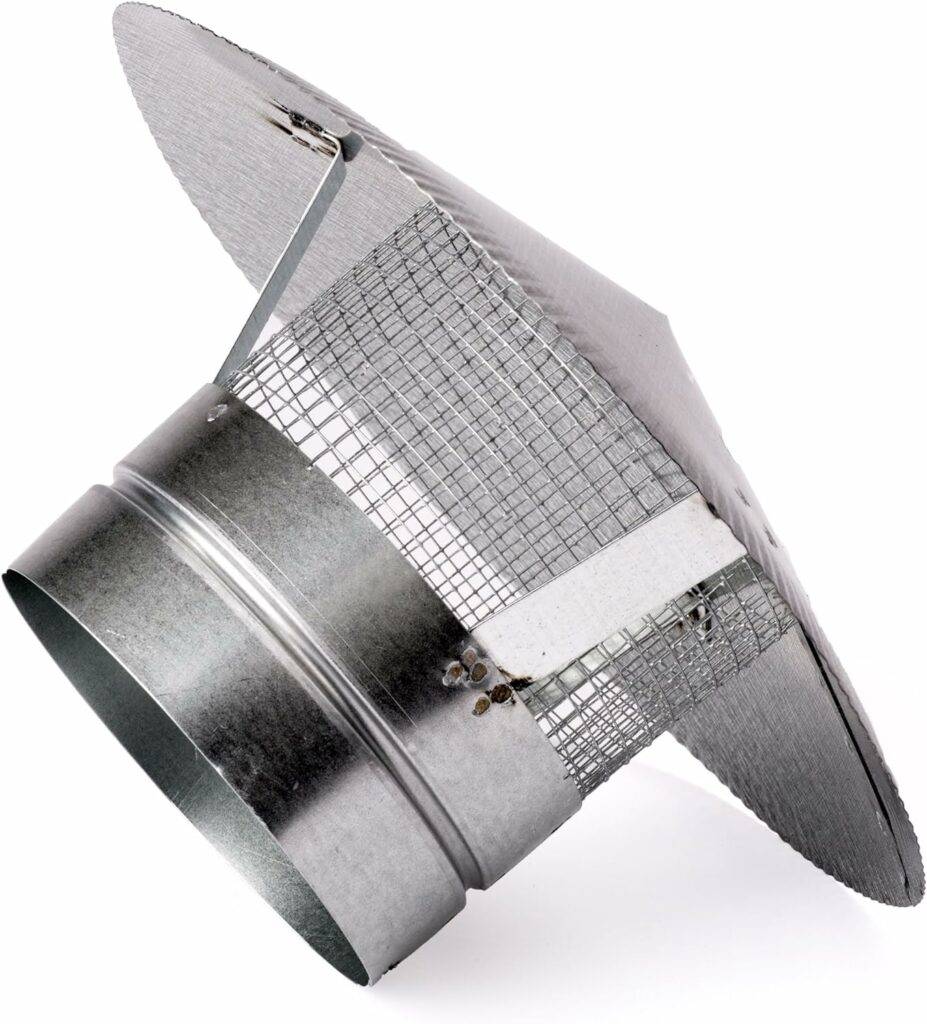
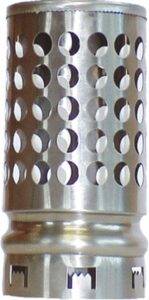
EBAY Forever Plumbing Vent Cap Professional Model HeavyRead More
Duty. 100% Stainless Steel. Fits either 3 in. or 4in. plumbing vent pipes. 24 gauge stainless steel. Can be installed on either a metal or PVC plumbing vent pipe. Griping tabs make for an easy installtion. Prevents animals, birds and rodents from nesting. Also, prevents debris from clogging your plumbing vent. The Forever Cap. “Nothing Else Even Comes Close”.
White Metal Plumbing Vent Cap. For RVS’. Painted Metal Zinc. Fits 1-1/4″ or 1-1/2″ Plumbing Vent Pipe. 2 Vents in the Pack.
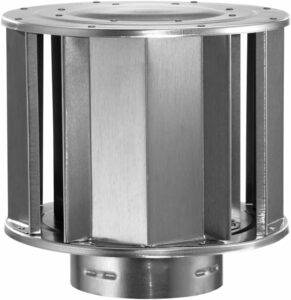
Overall Dimensions: 6 inches (W) x 6 inches Read More
(D)Protects against debris and bird invasion. The top twist-locks to DuraVent Type B Gas Vent for a secure fit. The rain cap is for gas applications with DuraVent Type B Gas Vent only.Produced with the highest grade materials.
Read More
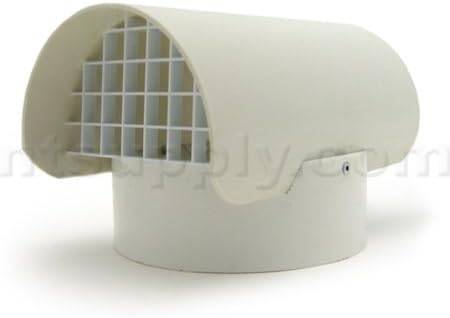
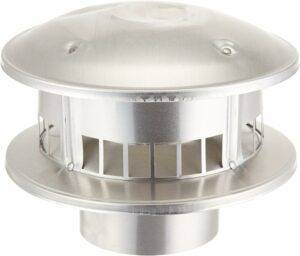
Gas Vent Type B, 4 In cap. Brick-Red Color. Nonflammable | Provides A Fireproof Acoustic Seal. This is manufactured in Mexico. Top round. For gravity draft venting of LP or natural gas burning appliances. Not for wall furnaces or wood burning applications.Inner wall aluminum, outer wall galvanized.
